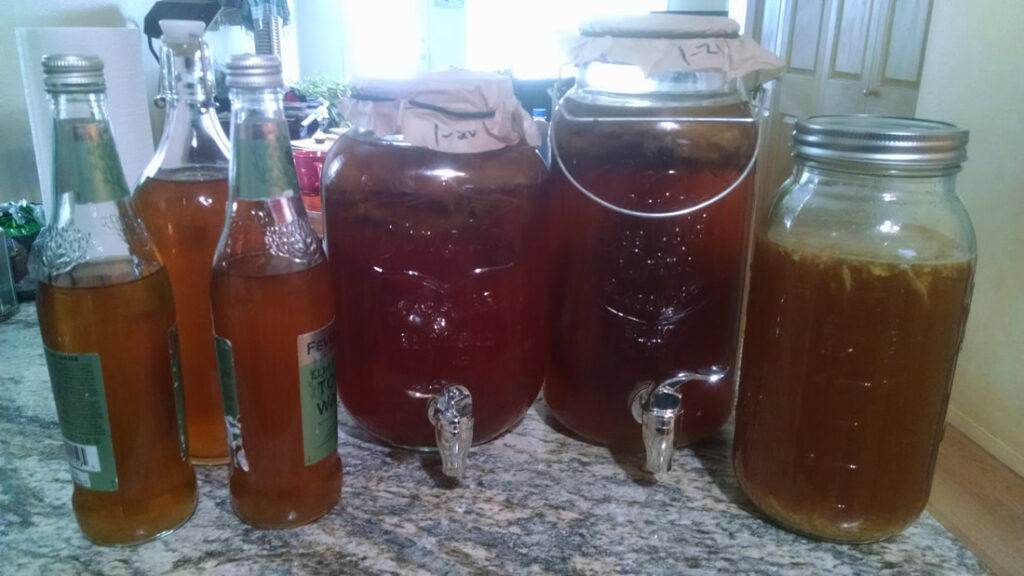
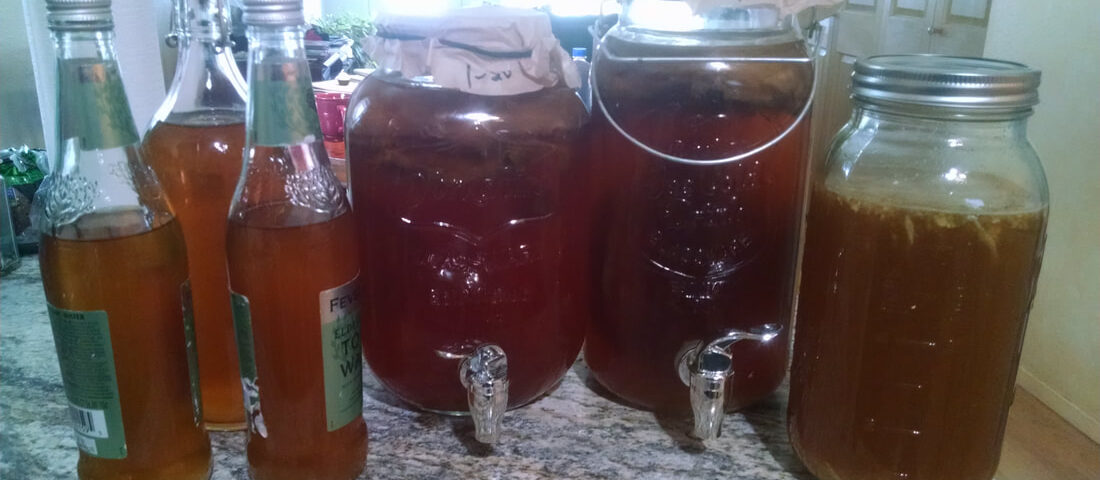
Kombucha has become a staple in my family’s kitchen, even though it’s not something you hunt, fish, or forage for. After spending time outdoors or during quiet winter months, kombucha-making is a great pastime with added health benefits. I’ve always enjoyed the art of wild fermentation, not just with kombucha but also with homemade wines and ciders. Starting it from scratch was an educational experience for my whole family, and now we have several jars regularly brewing fresh batches. We’ve even shared some with friends who were curious about the process.
Origins and Health Benefits of Kombucha
Kombucha is thought to have originated in China or Japan thousands of years ago. This fermented tea offers many of the same health benefits as regular tea, but with added perks. It’s rich in probiotics, antioxidants, and even acetic acid, which may help fight off harmful bacteria and support a healthy gut. These natural compounds are thought to support digestive health, reduce inflammation, and may even aid in weight management.
Essential Equipment for Brewing Kombucha
Before getting started, having the right equipment on hand can make your kombucha-making journey smoother and more enjoyable. Here’s a list of must-haves to ensure your homemade kombucha turns out great every time.
- Large Glass Jar (1-Gallon)
A glass brewing jar is essential for kombucha, as metal containers can interfere with the fermentation process. Look for a large, wide-mouth glass jar, ideally 1-gallon size, to allow the SCOBY to grow and breathe.
Shop Large Glass Brewing Jar on Amazon - Breathable Cover (Coffee Filters or Cloth)
To keep contaminants out while allowing air to flow, cover your jar with a coffee filter or clean cloth secured with a rubber band. Avoid tight lids, which can inhibit fermentation.
Shop Coffee Filters on Amazon - Wooden or Plastic Spoon
Stirring with a non-metal spoon helps protect the delicate cultures. A wooden spoon is perfect for stirring the tea mixture and adding flavoring without impacting the brew.
Shop Wooden Spoons on Amazon - Non-Metal Strainer
A plastic or nylon strainer helps strain out the fruit or ginger from your kombucha before bottling, keeping metal out of contact with the acidic kombucha.
Shop Non-Metal Strainers on Amazon - Flip-Top Bottles for Carbonation
Flip-top bottles are ideal for creating fizzy kombucha. They seal tightly, allowing for natural carbonation during the second fermentation. Just make sure to check them periodically for pressure.
Shop Flip-Top Bottles on Amazon - pH Strips
For more accuracy with fermentation, pH strips are a helpful tool. Kombucha is usually ready when it reaches a pH of about 3.5-2.5, indicating the right acidity level.
Shop pH Strips on Amazon
Having these items ready can make the process of making kombucha straightforward and enjoyable. With the right tools, you’ll be brewing and flavoring kombucha like a pro in no time!
The Kombucha-Making Process
Making kombucha is straightforward. By combining strains of bacteria and yeast with sugar and black or green tea, the mixture is left to ferment for about a week. The process produces a symbiotic colony of bacteria and yeast known as a SCOBY—a mushroom-like film that forms on the liquid’s surface, giving kombucha its nickname, “mushroom tea.”
Here’s the process I follow to make our kombucha from scratch:
- Getting Started:
- I started by borrowing a couple of cups of raw kombucha from a friend. To brew, I boiled six cups of spring water with 1 ½ cups of sugar. Once boiling, I removed it from the heat and added seven bags of generic black tea, steeping for about 15 minutes.
- Preparing the Starter:
- After removing the tea bags and cooling the tea to room temperature, I poured it into a glass jar with a pour spout (picked up at Target). I covered the top with a coffee filter held by a rubber band and placed the jar on the top pantry shelf, where it’s dark and warm.
- First SCOBY Formation:
- In about 25 days, a thin SCOBY had formed on top. I then replaced the tea with a fresh batch, repeating the process three times before I began sampling. The tea has continued to improve over time as the SCOBY matured.
Flavoring Your Kombucha
Kombucha is versatile, and you can flavor it with just about anything. To carbonate it, I add fruit juice and about a tablespoon of sugar to a separate container, reserving 1 ½ – 2 cups of kombucha and the SCOBY. Sealing the container tightly, I place it in the pantry for five or six days to allow natural carbonation. During this period, it’s essential to “burp” the bottle by cracking it open occasionally to release gas and prevent any explosions. Once carbonated, I strain and bottle the kombucha in mason jars, refrigerating it to enjoy later.
Troubleshooting and Tips for Kombucha Success
- Mold Concerns: If you notice mold on the SCOBY, discard it and start fresh, or peel off the top layer if the SCOBY is thick enough. Covering the jar well can help prevent contamination—initially, I used a double layer of coffee filters.
- Mason Jars: Mason jars make excellent fermentation containers as they come in various sizes, are durable, and seal well.
- Flavor Experiments: Experiment with flavors! Kombucha is a low-cost, forgiving project that allows you to try new ingredients and easily discard any that don’t work.
- Safety Precautions: For the second fermentation, I place the bottles in a box lined with newspaper to contain any mess in case a bottle does burst (although, thankfully, this hasn’t happened yet!).
Our Favorite Kombucha Flavor: Blueberry Ginger
Here’s our family’s favorite recipe for a refreshing kombucha flavor:
Blueberry Ginger Kombucha Recipe
Ingredients:
- 1 gallon kombucha (see instructions above)
- 1 cup blueberries
- 1 tbsp fresh ginger, grated
- 2 tbsp sugar
- 1 ½ cups water
Instructions:
- In a saucepan, combine the blueberries, grated ginger, sugar, and water, and bring to a boil. Lower the heat, and simmer for about 15 minutes, smashing the blueberries to create a thin syrup.
- Let the syrup cool to room temperature, then slowly add it to your kombucha, stirring gently.
- Strain and bottle the kombucha, leaving about ½-1 inch of air at the top. Seal the bottles tightly.
- For extra fizz, let the bottles sit at room temperature for 1-3 days, checking for pressure build-up before refrigerating.
Enjoy your homemade kombucha, whether flavored or plain. When you’re ready to drink, strain out any newly formed SCOBY, chill, and savor!

This is a re-write of an article originally posted January of 2012
As an Amazon Associate, I earn from qualifying purchases. This means that if you click on an Amazon affiliate link on this site and make a purchase, I may earn a commission at no additional cost to you. All product recommendations and reviews are my own, based on personal experience and research. Your support helps keep this site running, and I greatly appreciate it.
